Paper Pumpkin - October 2016, Season of Gratitude
 |
| Seasons of Gratitude Kit |
Paper Pumpkin is such a great deal, where can you get everything you need to make 8 cards or 3D projects for $19.95, including shipping! Heck, it's hard to get anything shipped to you for under $10.00 these days. There is a subscription option for almost everyone. You can subscribe for 1 month, 3 months, 6 months or a year. Which ever your heart desires.
They are great for people just starting out, wanting to build up their stamp supplies, or newbies, testing the cardmaking waters for the first time, or for busy people who love stamping and want to sneak it in on their spare time, maybe at the lake, or on a business trip when you are in the hotel at night and bored with tv. I'm sure there are lots of other reasons. If you get Paper Pumpkin, it would be great to hear why you love it!
I have put together a couple videos for you. One when I unpack the box showing everything that is included and another putting everything together. I also have some photos for step by step directions. I noticed when putting it together that there was one step missing, unless I overlooked it and that was putting in the window sheet.
So, here we go!
Unpacking Paper Pumpkin!
Putting together Paper Pumpkin!
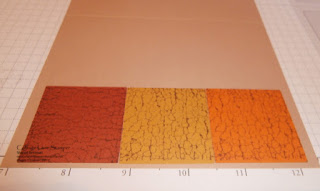
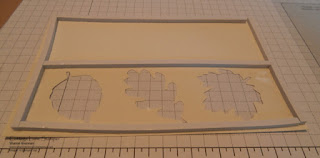
Step by Step Paper Pumpkin in photos:
TIPS: If you are going to make all of the cards at once:
- punch out everything first and put in stacks and put together in an assembly line
- save all the leaves to be used on other projects
- do all the stamping, the backgrounds and the sentiments at the same time
- make sure when placing the foam strips that there aren't and spaces between the strips where they intersect to keep the sequins secured within the frame
- save the outside edges of the foam strips, you can use these later on other projects
- I made 4 landscape and 4portrait oriented cards and four different sentiments, one on each card orientation.
- I find that when I make the bows, using my method (as shown in card video tutorial), I use less ribbon or Baker's twine.
Hope you enjoyed this. If you have any questions about anything I've done or anything in general about card marking, would love to hear from you.
Till next time,
God bless you!


Comments
Post a Comment