Stamping a Three Layer Image - A nicer image, a little more work.
This week in our class one of our cards was a card where you have 3 layers of white cardstock of different sizes and then stamp all three layers at once.
This is the card we made with the beautiful stamp, "Heartfelt Blooms" from our 2018 Sale-a-bration catalog. (This photo does not do justice to the stamp image.
I found when stamping the three layers of white cardstock that there were spaces between each layer, up to 1/4". One of my ladies was a little dissatisfied with this result, as was I. So I tried to find a solution. So this is for you Amanda!
The way the I found to get around this is a little time consuming but it does create better result.
 This might give you a better idea of what I am talking about. If you look closely you will see the white spaces on the top right hand corner. I think my card is a little crooked because I tried to make it match better on the bottom.
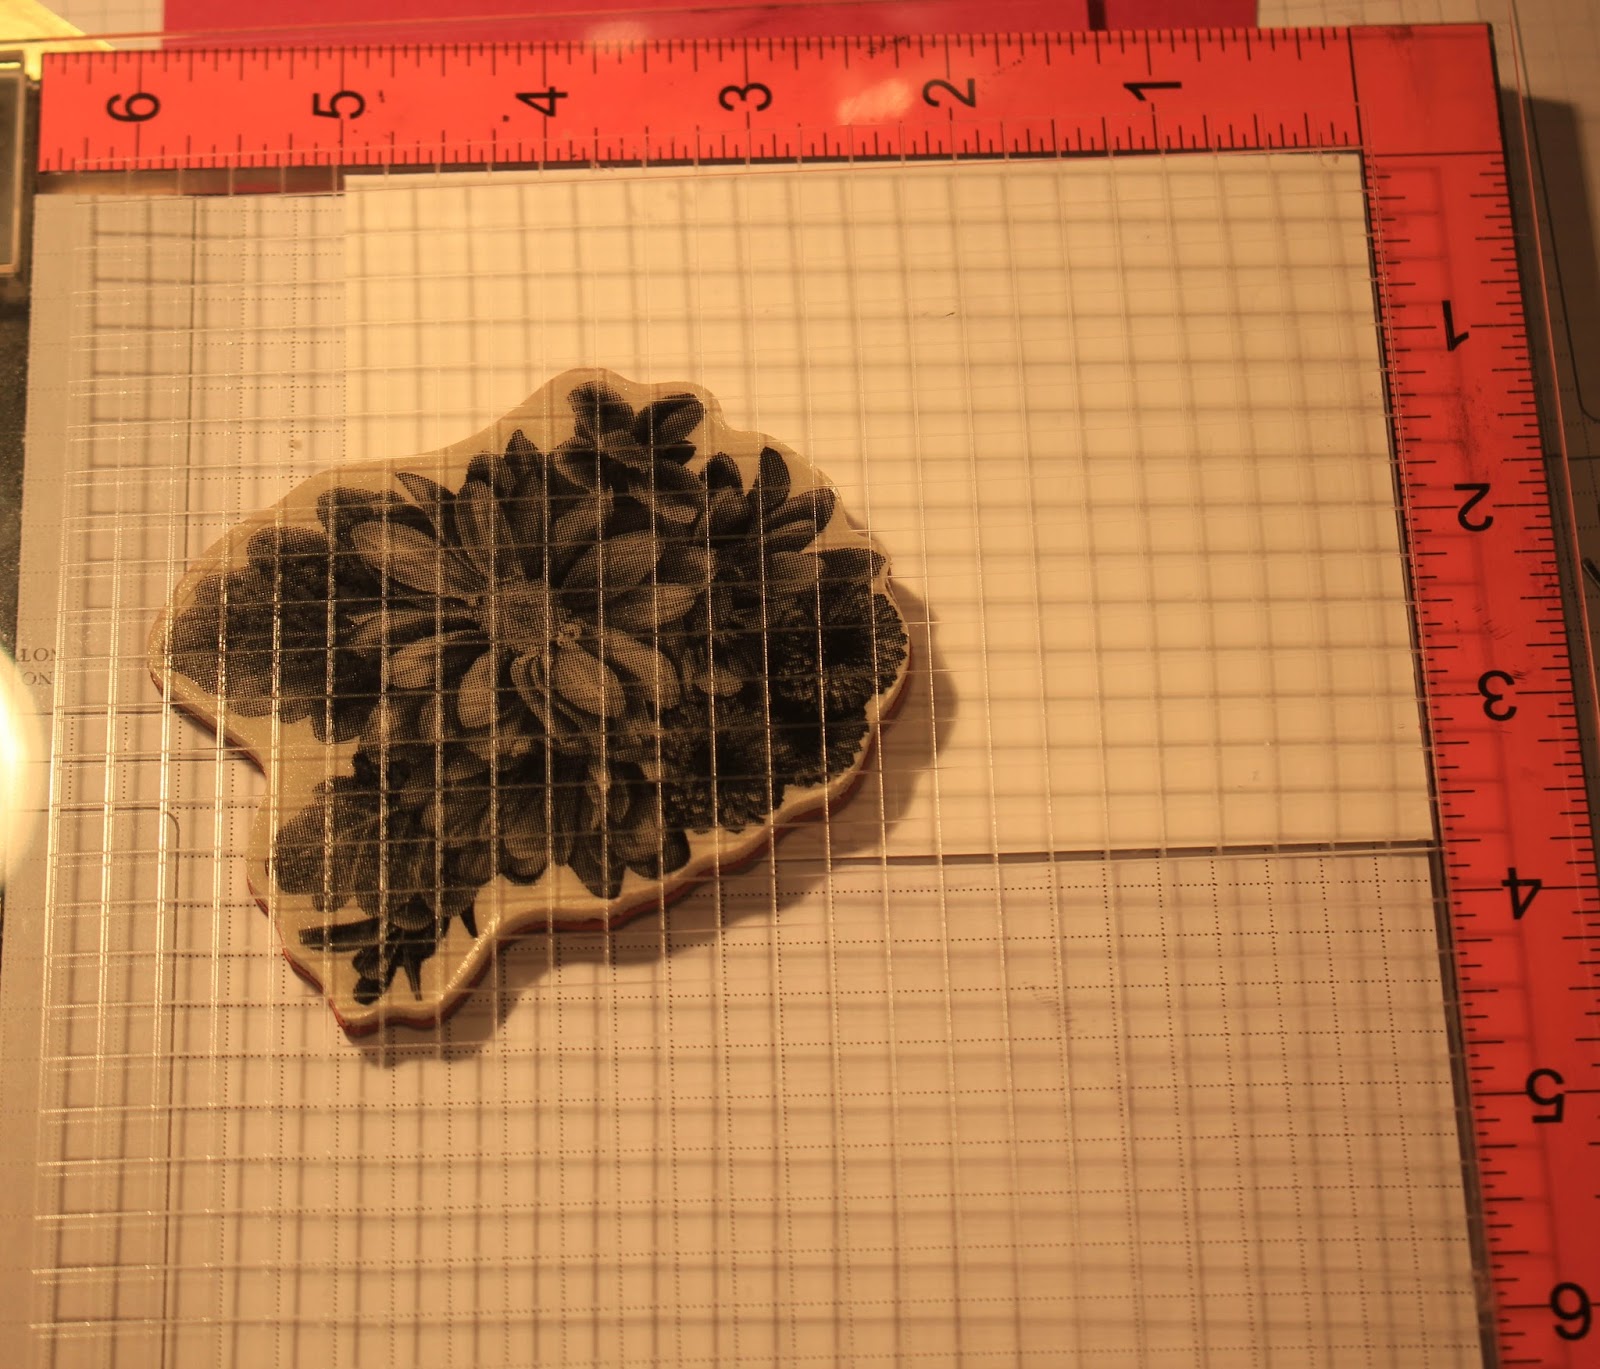
You will need a Misti (I haven't gotten my new Stamparatus yet!). A sheet of Stampin' Up! grid paper.
I changed the measurements from the card that I found online so that there is 1/4" different between each layer.
You will need your colored cardstock in these dimensions:
Position your stamp on the paper where you want it, then swing it back and ink up the stamp.
 This is what it looks like after you stamp the first image.
 With your middle sized piece of cardstock, move it down and over 1/4", this is where the grid paper comes in handy. Make sure to hold it in place with the magnets. With the stamp in the same position, reink the stamp and close the lid.

This is what the second piece looks like after the stamp is applied.

Place the smallest piece of cardstock 1/2" down and 1/2" over from the edges of the Misti. Ink up the pad and stamp.

This is what the third piece looks like.

Now here we had a technical difficulty with my camera. I took shots of all the layers and dimensions, but for some reason they didn't record and I didn't realize this until I had already put it together. But the dimensions are all listed above.
This is the finished card. I think it turned out much better.
The colors I used are Berry Burst an incolor 2017-2019. The ink used is Night of Navy.
 I'd love to hear if this has helped you.
This is the card we made with the beautiful stamp, "Heartfelt Blooms" from our 2018 Sale-a-bration catalog. (This photo does not do justice to the stamp image.
I found when stamping the three layers of white cardstock that there were spaces between each layer, up to 1/4". One of my ladies was a little dissatisfied with this result, as was I. So I tried to find a solution. So this is for you Amanda!
The way the I found to get around this is a little time consuming but it does create better result.

You will need a Misti (I haven't gotten my new Stamparatus yet!). A sheet of Stampin' Up! grid paper.
I changed the measurements from the card that I found online so that there is 1/4" different between each layer.
You will need your colored cardstock in these dimensions:
- 8-1/4" x 5-1/2", scored at 4-1/4;
- 4-3/4" x 3-1/2"
- 4-1/4 x 2-3/4"
- 5" x 3-3/4"
- 4--1/2" x 3-1/4
- 4" x 2-3/4"
Position your stamp on the paper where you want it, then swing it back and ink up the stamp.


This is what the second piece looks like after the stamp is applied.

Place the smallest piece of cardstock 1/2" down and 1/2" over from the edges of the Misti. Ink up the pad and stamp.

This is what the third piece looks like.

Now here we had a technical difficulty with my camera. I took shots of all the layers and dimensions, but for some reason they didn't record and I didn't realize this until I had already put it together. But the dimensions are all listed above.
This is the finished card. I think it turned out much better.
The colors I used are Berry Burst an incolor 2017-2019. The ink used is Night of Navy.


Comments
Post a Comment