Just for You!

This Stampin' Up Thinlet was so popular that I didn't receive my backorder until way after Valentine's day. But the beauty of it, is that it can be used anytime of year. This card could be for a close friend or wedding. I was so excited to get it and use it I came up with this.
This Bloomin' Heart Thinlet is available alone or bundled with the Bloomin' Love stamp set. I bought the bundle, saving 15%. I always buy the bundles, it just gives the you so many more options and ways to be creative
The card is the standard A2 (4.25" x 5.5") size. The card base is Mint Macaron and the pink background in Pink Pirouette.
I cut the Mint Macaron to 4-1/8" x 5-1/4. I then used the Bloomin' Heart Thinlet, centered it just a little below the top about 1".
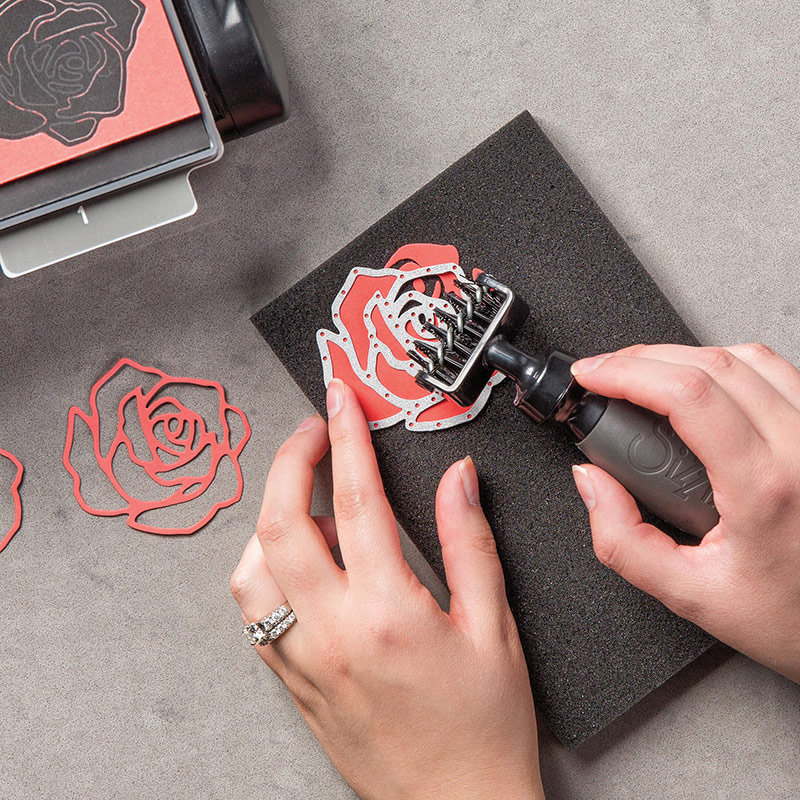 One thing I haven't received yet (but it is in my next order) is the Big Shot Die Brush that comes with a pad. For these intricate dies it makes it much easier to remove the little pieces in the negative spaces, just place the heart on the pad and run the brush over it a few times and voila! they are removed. (Saves time poking them out one by one)
Then using the Filigree Frame embossing folder (retired) I embossed the Mint Macaron through the Big Shot. (Make sure that you keep the Mint layer right side up when embossing and if you look close the heart does not fit back in the space perfectly, I embossed the wrong side,of course I could have used the debossed side, but I like this side better.)
On the white card base I cut out a square of Pink Pirouette a little larger than the heart opening and used snail to affix it to the card.
I affixed the Mint Macaron to the card using Dimensionals, to the back side where the flowers are.
This Thinlet set also comes with two beautiful little flowers, one a little larger than the other. Using another scrap piece of Pink Pirouette, I cut out two of the larger ones and three of the smaller ones to fit on the heart. I didn't think of this at the time but if you place the flowers on your Paper Piercing Matt and use the rounded end of your Paper Piercer and gently push the flower down in the middle it will give it a little dimension.
The flowers were then affixed to the heart on the flower spots, using Stampin' Up glue dots and then to give it a little bling I added some small pearls to the center of the flowers.
The banner above the heart is from the Bloomin' Love stamp set, stamped in Memento Black. The sentiment is from the Teeny Tiny Wishes stamp set. After stamping the banner and the sentiment I cut the banner out by hand. I then backed the banner with a piece of satin ribbon.
Supplies:
 |
| Bloomin' Love Bundle #140818 |
 |
| Bloomn' Hearts Thinlet #140621 |
 Bloomin' Love Stamp Set #140643 |
 |
| Mint Macaron #138337 |
 |
| Pink Pirouette #111361 |
 |
| Whisper White #100731 |
 |
| Big Shot Die Brush #140603 |
 |
| Dimensionals #104430 |

 |
| Tuxedo Black Memento Ink #132708 |
 |
| Teeny Tiny Wishes #127802 |
 |
| Big Shot Die Cutting Machine #113437 |


Comments
Post a Comment